Pages

Showing posts with label Snacks. Show all posts

Edible Eyeballs


I love bringing kids imaginations to life!
Years ago for my son's Halloween birthday party I was looking for a way to make edible "eyeballs" on the table a way that kids would actually eat and enjoy, I knew those little people were NOT touching an olive lol! So, I added a twist on those pretzel snacks that were showing up at holidays, turning them into "eyeballs" and the kids have loved it ever since...I mean all the kids...My sons class is always asking him to make them and bring them in! My children both have severe nut allergies to both tree and peanuts - so we make most of our treats at home.
Your kids will have a blast making, eating and sharing these!


Eyeballs
round or square pretzels
white chocolate disks
chocolate chips
red jimmies

On a baking sheet, place pretzels in a single layer. Put one white chocolate disk in the center of each pretzel. Place in a 350 degree oven for approx 3-4 minutes or until chocolate is shiny but not melted or falling through the pretzel.
Remove from the oven and sprinkle with red jimmies. Invert one chocolate chip in the center of each disk. Cool in your fridge or cold garage for 20 minutes and they will remain hard until ready to eat. They keep well for a week in a sealed container.

Happy Cooking!

Doughnut Muffins


Warning!! Addictive Muffins ahead!!

My kids first tasted Auntie Anne's Pretzels a couple of years ago.
They thought they were amazing (so does their Mom).
Not being one to go to malls often (since having kids), I decided the kids and I should whip up something similar at home.

What we landed on were Applesauce Doughnuts...they were really good, however they were not as good after they cooled I was still tinkering with them when I was lucky
to meet Jen of How to Simplify and sample some of her Doughnut Muffins! They were just what we were looking for!
Talk about addictive! They were a huge hit at the food blogger gathering I was at!Check out her site - she had some wonderful tips and recipes!

We made these beauties a number of times in the past few months - My kids keep asking to make them. My son loves rolling the muffins hot out of the oven in the cinnamon and sugar mixture. Then he reaps the fruit of his labor...or in this case the muffin! Thanks Jen!

Doughnut Muffins
-How to Simplify

Muffins
1 3/4 cup flour
1 1/2 teaspoons baking powder
1/2 teaspoon salt
1/2 teaspoon nutmeg
1/2 teaspoon cinnamon
1/3 cup oil
3/4 cup sugar
1 egg
3/4 cup milk

Cinnamon and Sugar Coating
1/2 cup butter, melted
1/3 cup sugar
1 tablespoon cinnamon


Preheat oven to 350 degrees and grease a muffin tin well.
Combine flour, baking powder, salt, nutmeg and cinnamon in a medium bowl.
Combine oil, sugar, egg and milk in a large bowl, add in your dry ingredients and stir only to combine.
Bake for 15-20 minutes. While muffins are baking, melt butter in a small bowl. In another small bowl, combine the sugar and cinnamon.
Flip or gently lift muffins out of the muffin tin while the muffins are still hot.
Dip muffins in the melted butter and then into the sugar and cinnamon mixture, coating thee whole muffin. Place on a wire rack and allow to cool and try not to eat them all soon after....really!

You can also cut out the milk and add in 1 cup of sweetened applesauce if you wish, for a bit of a different flavor (if using unsweetened, add in 2 TBS brown sugar).

Happy Cooking!

Fun with Food!


For me one of my very favorite things to do is surprise and delight my kids through food! I love to take just a few minutes and transform the ordinary into a "oooh...aaaah" moment. You know the one...little eyes light up, a smile spreads across those beautiful faces and maybe they clap their hands together and jump up and down ...I LOVE that! The running hug and thank you that follows doesn't hurt either!

Think about what your kids like for snacks, dessert, dinner and more and take a quick moment to think what would be unexpected and make them get excited.
What are some of the things YOU do?


"Pineapple" Sherbert

1 pineapple
Your kids favorite sherbert, sorbet or ice cream (homemade or purchased)

Cut the top off of your pineapple, hollow out some of the inside for a snack.
When ready to use fill your pineapple shell with small cookie dough sized scoops of sherbert, sorbet or ice cream. I stick colorful 2 pronged plastic cocktail forks into some of the balls for easy self service.

Tip: You can also use mini pineapple for this...one for each child.

Happy Cooking!

Crunchy Veggie Roll Ups


Just in time for back to school!

In addition to a great snack or lunch item, these roll ups are perfect for the lunchbox! Customize these to your/your kids liking and you are good to go!

Crunchy Veggie Roll Ups
What you will need:
Fresh Tortillas
Reduced fat cream cheese, softened
Cucumbers and peppers, sliced in to matchstick size slices

Spread a bit of cream cheese on each tortilla, add a few rows of cucumber and pepper sticks. Roll up the tortilla as tightly as you can, like a log.
Wrap tightly in plastic wrap if you are not serving right away.

When ready to serve, unwrap and slice into 3/4 inch bites and enjoy!

Variations: Try carrot or celery sticks. Instead of cream cheese try hummus.
You can also try peanut butter and celery.

Tip if your tortillas feels stiff, place a damp paper towel on top of eavh one you are using (one at a time) and microwave for a few seconds to freshen up before assembling.

Happy Cooking!

Stuffed Strawberries


For a simple but oh so special treat, try Stuffed Strawberries with REAL whipped cream! Besides homemade whipped cream being so much better tasting, it's healthier as well and it only takes a few minutes to whip up...literally!

Strawberries are pretty to look at, tasty to eat and packed full of nutritional benefits! The have a huge amount of vitamin C and are a great source of fiber, potassium an folate, plus strawberries have touted medical benefits as well - so go ahead and grab a few!

Stuffed Strawberries
Strawberries
1 cup heavy or whipping cream
1 1/2 TBS sugar (or more if you want it sweeter)
1/2 teaspoon vanilla (optional)

Wash and dry the berries. Parents, slice the green part of the berry off making a flat surface. Gently cut out a circle from the tip of each berry, digging down a bit. Kids pop the tail end of the berry in your mouth and enjoy!

For the whipped cream:
Place cold cream in your mixing bowl and mix on med-high speed until the cream begins to get firm (about 2 minutes),add in the sugar and vanilla if using and continue beating until nice and thick and peaks hold their place do not over beat unless you want to make butter lol!

Pipe the cream into each strawberry using a pastry bag and tip of your choice, or you can just throw some whipped cream into a sandwich bag, snip off the end, gently squeeze a bit into each strawberry it. I have taken these on picnic's transporting the berries and cream in an ice filled cooler - cream in a baggie, snipped of the end and filled them on site....quick and easy!

Happy Cooking!

Create Your Own Cones!


This is a craft and a treat rolled into one!

Bring out the Picasso in your kids as they "paint" and design their own ice cream cones.

Recently I did a kid swap. I exchanged my daughter for my nephew for a night.
My son and nephew (8 and 9) helped prepare a fun treat for a family barbecue I was hosting the next day. Not only did the boys have a blast making these, they custom made one for each of their cousins, and family members. Then, when the time came, they so very proudly handed them out, one by one!

Moments like these are priceless to me!

What You Will Need:
Ice cream cones
Chocolate to melt - I use Wilton melting disks in various colors from the craft store, those are amazing and versatile for so many uses.
Decorations - jimmies, colored sugars, small candies, mini chocolate chips...whatever you think will surprise and delight your kiddos and is small enough to work!!
Wax or parchment paper
Pasty Brush, or silicone basting brush
Wax or parchment paper lined baking sheet

Line the cones up on a big piece of wax or parchment paper - one work area for each child.

Parents, melt the chocolate in the microwave in a small bowl (one color at a time) depending on how many your are making cooking times will vary. I suggest 45 seconds to start, check your chocolate, stir a bit then 30 second intervals until smooth and glossy when stirred.

Have your kids dip the brush into the melted chocolate and "paint" the cone tips, then quickly have them sprinkle on chosen decorations.

Make the cones one at a time - The chocolate can harden quickly depending on the temperature if it does, the decorations will not stick.

As each one is made, gently place on your parchment/wax paper lined baking sheet. Once all are made, place in the refrigerator for 15 minutes or until the chocolate is hardened once again.

Store in an airtight large container if not using within a few hours.

Have fun releasing your inner artist!!

Happy Cooking!

Chocolate and Banana Bread


My kids like bananas, but they like Banana Bread even more.
They keep me updated on the state of our bananas, letting me know when they begin to brown or that they might be ready to make Banana Bread.

It goes something like this:

"Moooooooommmmm"

I jump from what every I am doing and I am like WHAT!!!!


"I think it's time to make banana bread...the bananas are getting brown!!!"

(Phew, the house is not on fire, all is well, its just a banana bread inquiry, lol.)
"Good idea sweetie, we will make it soon".

"Can we make it now? Can we put chocolate chips in it? I know how to make it"(all in one breath)

So of course I drop everything and that is exactly what we do :)

Then the countdown begins until it is ready to come out of the oven, cool and be eaten...LOL, You know how it goes!

Hope you have fun making and eating this together!

Chocolate and Banana Bread

4 brown bananas
2 cups flour
1 tsp baking soda
1/2 tsp salt
1/2 cup butter, softened
1 cup sugar
2 eggs
1/3 cup milk
1 tsp lemon juice
3/4 cup chocolate chips

Preheat oven to 350 degrees

Mix flour salt and baking soda in a medium bowl, set aside.
In a small bowl or mug, combine the milk and the lemon juice, set aside.
In a large bowl, cream the butter and the sugar. Add the bananas and using a potato masher, mash them into the butter and sugar mixture. If you don't have a potato masher you can use a big fork or your clean hands - it is quite fun squishing bananas!
Add in the milk mixture, stir well.
Add in the flour mixture and the chocolate chips, stir well until fully mixed.

Spray or butter a loaf pan, then pour your batter in. (You can add extra chocolate chips on top if you like or some raw sugar)

Bake for 1 hour or until a toothpick inserted comes out clean.

Variation: Instead of a loaf, make banana bread muffins, just pour your batter into a sprayed or buttered muffin pans or cupcake liners in your muffin pans and bake for 10-15 minutes for mini's or 20-25 minutes for regular sized.

Tip: Once you make the muffins, freeze a bunch to be used for school lunches, or after school snacks.

Happy Cooking!

Melon Balls


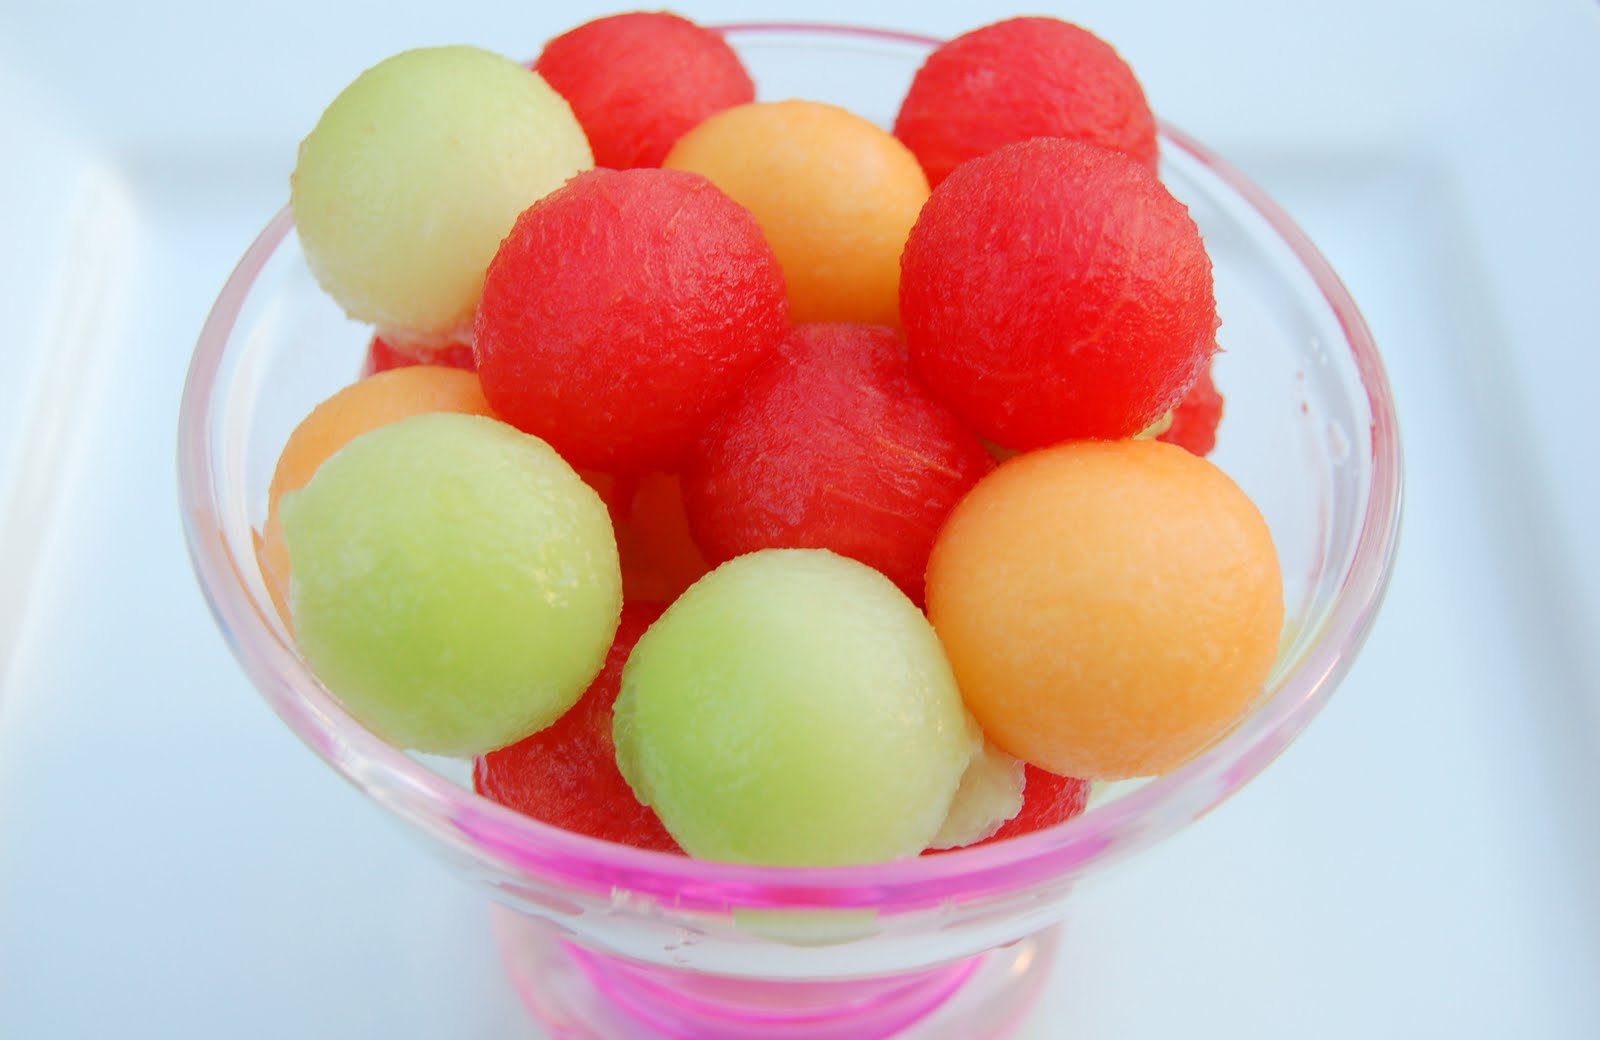
Melon Balls, what a perfectly refreshing snack or dessert.

Have fun teaching your kids how to use a melon baller then scooping out the colorful balls.

Did you know?

Watermelon
Watermelon seeds were found in the tomb of King Tut.
In the US the largest producers of watermelon are Florida, Georgia, Texas, California and Arizona.
The first recorded watermelon harvest was 5000 years ago in Egypt.
Watermelon is 92% water; early explorers used watermelons as canteens.
The watermelon is truly an international food, many more watermelon are consumed by other countries than the US. For example China consumes 30 times more watermelon than the US, they are the worlds largest producer as well. In China they also stir fry the rind with a bit of olive oil, garlic, chili peppers, scallions and ginger.
Watermelon rind contains many, many hidden nutritional benefits that the watermelon itself does not provide. In Southern US pickled watermelon is commonly enjoyed.
The watermelon is thought to have originated in Southern Africa.
Watermelon is a great source of potassium, vitamin A, vitamin C and B6. It also contains calcium, phosphorus and magnesium.

Honeydew
A ripe honeydew's flesh turns from green to white and is one of the slowest melons to ripen.
Honeydew seeds were brought to China by Vice President Henry Wallace in the 1940's and as a result they often refer to the fruit as the Wallace.
Honeydew is a great source of vitamin C, it also contains folate, potassium and B6.

Cantaloupe

Cantaloupe is believed to have originated in India or Africa.
Christopher Columbus introduced cantaloupe to America on his 2nd voyage to "the new world" in 1494.
Always wash the outside of a cantaloupe before cutting into it as the surface of cantaloupe has been known to carry salmonella.
1/4 of a medium cantaloupe provides 400% of your daily vitamin A requirement and 100% of your vitamin C.
Cantaloupe is a nutritional powerhouse with many purported health benefits.
Cantaloupe is a great source of vitamin C, fiber, beta carotene, folate and potassium.

Melon Balls

1/2 watermelon
1 cantaloupe
1 honeydew

Wash each melon and blot dry with paper towels.
Have your CB help you cut the melons on half (between the stem markings).
Using your melon baller on an angel, push it into the melon and firmly but gently turn it towards your body, then away turning your wrist in almost a full circle. This creates a circular shape.

Place fruit balls into a glass or bowl, cover tightly and refrigerate for 1 hour prior to serving.

For fun, serve with toothpicks!

Tip - Honeydew and cantaloupe are not meant to be refrigerated. For best results allow to ripen on your counter for a few days.

Happy Cooking!

Brown Sugar Fruit Dip


We needed a quick fun snack for some unexpected company coming over. I needed to please both kids and their parents, so I looked around my kitchen and saw, cream cheese, fruit and pretzels - so I went with it.
My 5 year old daughter helped with this one.

We have a ritual any time we use vanilla.
We reverently open the bottle....I inhale deeply with my eyes closed and just let everything in the world but the glorious scent of the vanilla go away - I exhale a very satisfying aaaaahhhhhhhh! I pass the bottle to my daughter and she does exactly the same.

It's moments like those I know my kids will have forever burned in their memories and one I hope they will treasure :)

Vanilla is absolutely one of my very favorite things and I think my kids won't have a choice in the matter but to one day say the same lol!

Hope you enjoy this oh so tasty dip!!

Brown Sugar Fruit Dip for a Crowd

2 8oz packages of cream cheese, room temperature
3/4 cup brown sugar (or more to taste)
2 1/2 TBS vanilla
1/2 teaspoon cinnamon

Mix the softened cream cheese in your mixer for about 2 minutes on medium speed, you what to really whip it up. Add in the brown sugar, vanilla and cinnamon and continue mixing until fully incorporated.

Place in a crock or two small souffle dishes and serve.

Serve with apple slices, strawberries, grapes and pretzels. The salt and the sweet go so good together!!

Optional: top with some additional brown sugar, OR for some crunch make up a bit of toffee and crumble - place half in a middle layer and the rest on top...YUM!

Kids you need a Cooking Buddy for this part:
To make toffee melt 1 stick of butter and 1/2 cup white sugar in a saucepan, add in a dash or two of salt - keep stirring until it comes to a full boil, keep it going a few minutes more (about 280 if you have a candy thermometer), stir vigorously.
Pour onto a parchment paper lined baking sheet or cake pan. Cool in the fridge, peel the paper off break apart and sprinkle (and nibble) and sprinkle some more!

Happy Cooking!

Chemistry in the Kitchen - Marshmallows


Cooking is a science, explain to your children when they cook with you how the chemistry of food is a fascinating part of what happens while making then completing some recipes.

Kids and adults both love marshmallows but have you ever made your own??
Taste the difference!

Marshmallows depend on gelatin, a common household ingredient to create their shape and texture. For young scientists however, gelatin is also a great way to demonstrate how molecules can rearrange to change matter from one state to another. Follow the directions below to see just what can happen when gelatin meets some sugar, cornstarch, and heat.

2 envelopes of plain, unflavored gelatin
½ cup cold water
1 cup light corn syrup
½ cup granulated sugar
1/3 cup cornstarch
½ teaspoon vanilla
1/3 cup confectioner’s sugar

In a small bowl, combine the cornstarch and confectioner’s sugar.
Grease the sides of a 9” square baking pan, and place a sheet of parchment paper or wax paper, cut to size, along the bottom and then grease that, too.
Use a bit of the cornstarch mixture to dust the bottom and sides of the greased pan.

Place the contents of the two packets of gelatin into a small saucepan, and mix in the ½ cup of cold water.
Let it stand for one minute, and then have CB help you cook and stir over low heat until the gelatin is fully dissolved.
(What’s happening? The water has spread out the special protein fibers that make up the gelatin, and the heat has dissolved their original bonds. That’s why the gelatin seems to “dissolve” into the water.)

Now pull out a mixing bowl, and blend the granulated sugar, corn syrup, and vanilla. Add the gelatin mixture, and beat the whole mixture thoroughly—for up to 12-15 minutes—with an electric mixer. Watch the mix become thick and creamy.
Pour it into the greased baking pan, and let it stand at room temperature for at least 4 hours. (What happens: the protein bonds will begin to re-form as the gelatin cools…but now it’s mixed with other ingredients, so it will hold them together, too, in classic “marshmallow” texture.)

After four hours, or overnight, place the white sheet on a cutting board which has been sprinkled with the remaining cornstarch-sugar mixture. Cut into cubes with a knife (hint: it’s helpful to dip the knife into hot water first, to keep marshmallow from sticking!)

Roll the cut-up marshmallows in the cornstarch mixture to keep them dry to the touch…and then devour!

Jazz them up with sprinkles, drizzles chocolate or any fun topping you wish...serve them as smores - you can't go wrong here!! In the photo, we served them on graham crackers and let the kids decorate them. Not sure who ate more...the kids or the parents lol!

Gotta love it when science and cooking collide!

Whipped Cream


Whipped Cream is a childhood (and adult) delight!

Making your own whipped cream doesn't take very long and it is one of the simple is joys of life...forget all the bought stuff - THIS is a treat for everyone, plus it eliminates some of the unnecessary ingredients used in the prepackaged stuff, slow down this week, make it and dig in!!!!

Kids I know you will have fun making this one, go ahead and lick the spoon!! I know I did!

Whipped Cream

Heavy cream or light cream
Sugar

Recipe depends on how much you want to make..I would say 1 cup of cream to 1 TBS of sugar...just depends on what you are serving it with and how sweet you want it.

Those of you new to cooking or under 10, grab a Cooking Buddy to help you along.

Place chilled cream in your mixing bowl and mix on med-high speed until the cream begins to get firm, add in sugar and continue until nice and thick and peaks hold their place - all told this takes about 2 1/2 to 3 minutes.

You can add a bit of vanilla, strawberry or lemon extract...whatever you want to give it additional flavor or color.

This is best the day you make it. You can also save it for the following day just be sure to tightly cover it with plastic wrap.

Happy Cooking!